Painting Miniatures: Cleaning, cutting from sprues, and prep work
Last post was an introduction of sorts. I’m going to kick off this series talking about miniature preparation. The things you should do to get your miniatures cleaned and prepped before putting any coats of paint on them. I’ll be splitting this into two separate posts, one will be assembly and this one will deal with cleaning up your miniature.
Lead miniatures of old have molds split into two halves. In order to ensure an even distribution of molten metal and being able to pop cleanly out of the mold, a small amount of mold release agent is added during the manufacturing process. This is also quite common for resin miniatures and plastic model kits. It’s not quite common for modern plastic miniatures, but that can vary depending on the production process.
If left on the figure, essentially you have this material that forms a barrier between the miniature and your primer or paint. With enough handling, you can rub off sections of that grand paint job you applied. So a way to avoid this is to give your miniatures a bath and a scrub.
Get a container of warm water and add a few drops of dish detergent, just enough to be able to work up some suds. Using an old toothbrush, place your miniature sprue into the soapy water, and give the figures a light scrub. Nothing too frantic or vigorous just a gentle brushing, focusing especially on the nooks and grooves as these recesses in a figure can capture a lot of mold release agent. Once you’ve gone over the entire sprue, give the models a final rinse of water and let them dry.
Cutting plastic parts from the sprues can be tedious. You will want to invest in a quality craft/hobby knife (Xacto knife) with plenty of spare blades. Be sure to cut on a good work surface. I use old plastic kitchen cutting boards. And also be sure to cut away from you and from fingers holding the figure or sprue. Sharp knife blades cut safer. If you are getting a lot of resistance when you cut, you likely have worn down the edge of the blade. Consider switching it out for a new one and use the ‘duller’ blade for work that doesn’t require a lot of force like removing flash (more on that later). You might even want to have 2 sets of knife blade handles. One for removing figures from sprues, and another for other general hobby work and cleaning mold lines from figures.
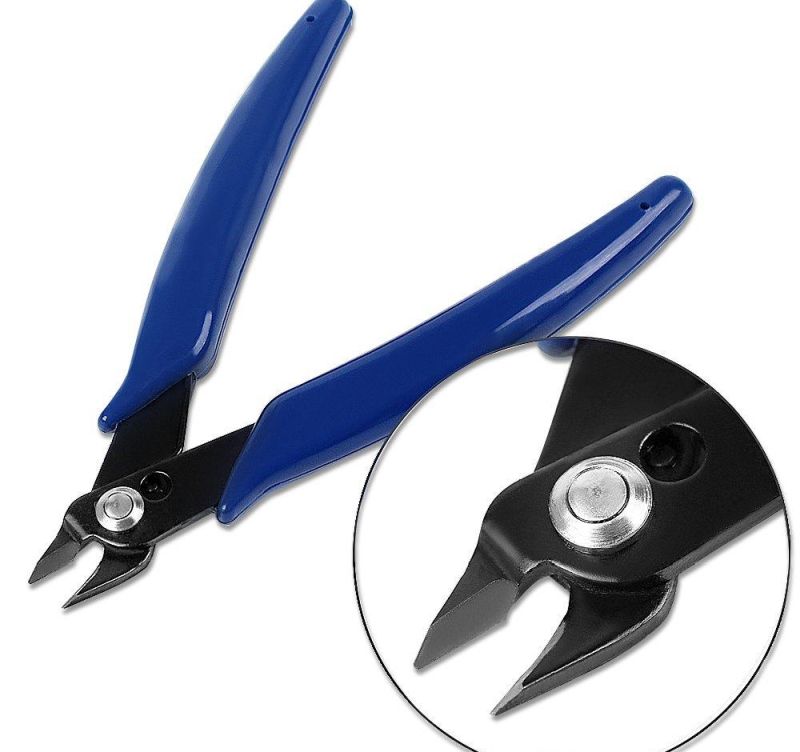
I would recommend investing in special cutter pliers. You can purchase cutters for plastic model kits like from Tamiya. However you can also hit up your local hardware store and buy electrical cutting wire cable cutter pliers. These pliers have both a flat and angled edge. With the flat edge towards the miniature part, you can quickly snip plastic parts off their sprues. It’s much easier (and safer) compared to using a hobby knife as occasionally there can be thick plastic parts which can require a lot of force when cutting
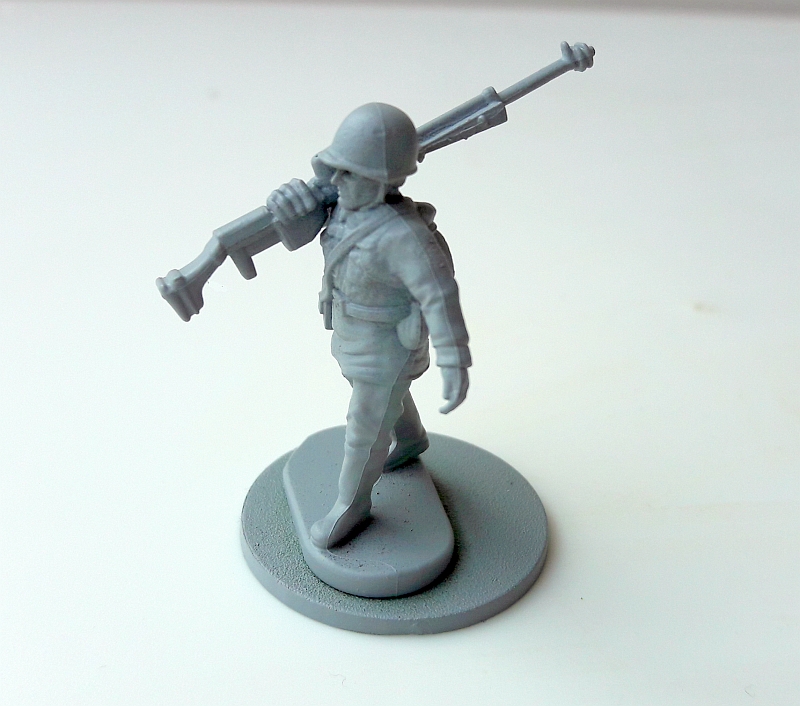
Once you’ve cut pieces from the sprue, you will want to clean up any flash from the miniature. As mentioned before, molds of miniatures come in two sections. Occasionally the seal of the mold can allow some of the figure material to seep out during the casting process. This forms a thin line on some sections of the miniature. With this Russian AT rifle figure below, you can make out a faint line on the profile of the figure that goes from the head all the way down to the base. If left alone, this can add a jarring detail to the miniature when it gets painted, accentuating the flash line.
You want to clean that up by carefully removing the excess. A hobby knife can be sufficient but some care is needed. You want to avoid gouging into the figure cutting too much material from the model. With a deft touch you can gently scrape away any flash lines. Alternately for really tight sections or areas that have a curved surface, you will want to use sandpaper or an emery board.
Obviously for metal miniatures you can’t use sandpaper. So if frequently working with metal figures, you might want to invest in a precision needle file set. These can be bought at hardware stores and typically come in sets with files of different types. Aside from flat or triangular faces, these sets may also have rat tail files (circular files) which are great for those odd curved surfaces.

I also would invest in a brass wire brush. After using a file, you can gently brush along the teeth of the file head (make sure to match the angle and not go against the ‘grain’ of the file teeth). With plastic this isn’t an issue however with metal eventually you will ‘fill in’ the surface teeth of the file. Essentially making the file’s teeth no longer able to scrape away any material. Occasionally cleaning out any excess can keep those file edges in good form.
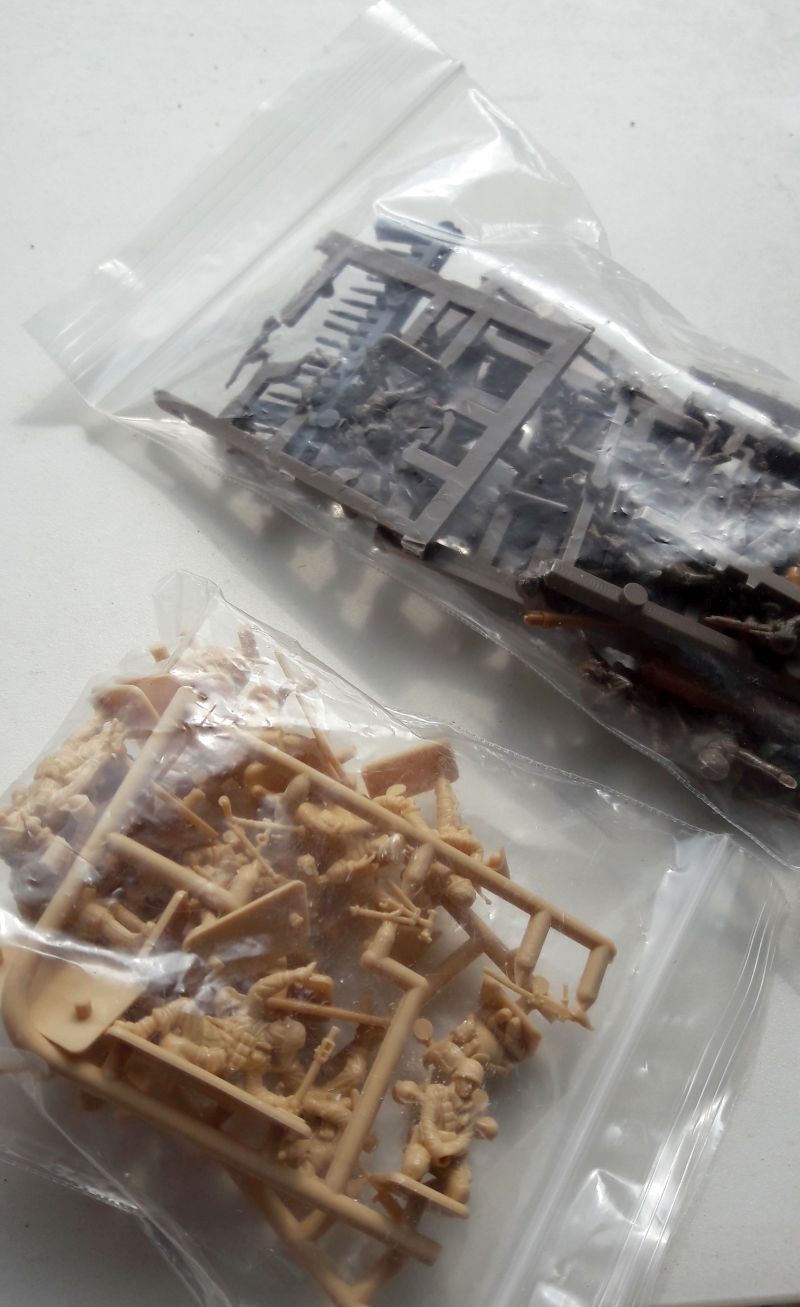
Depending on the amount of flash and intricacies of miniature pieces, you might want to assemble your mini first and then clean up the figure. Next post will cover points on glue and figure assembly. One last tip, save your bits. I typically cut all the excess pieces from a sprue and squirrel them away in a ziplock bag. You never know when you might want to do some kitbashing, need an extra weapon, or a particular angled arm or leg.