Painting Miniatures: Assembly, glues, and filling gaps
Plastic has become more popular and accessible for miniatures which I love, but man you can end up with a pile of plastic bits. Now that you’ve trimmed and cut them from sprues, how do you go about assembling them? Generally you want to invest in two types of glue: cyanoacrylate, instant curing glue (super glue) and plastic cement (model glue).
Instant curing glue is pretty much an all purpose glue for your miniatures. They can instantly bond to a variety of materials and are great for metal figures as well as soft plastics. If you dabble in 1/72 scale wargaming, commonly the plastic miniatures you get are ‘soft’ plastic. As RPG miniatures go, Reaper Miniatures Bones is another similar type of soft plastic that instant glue will work well on.
Super glue cement will form a quick bond. Apply a little to each joint and then set the pieces together holding with gentle pressure for 10-15 seconds. Even though you will get the parts to hold, you want to let the glue completely dry for an hour or so. A small tip, be mindful that too much instant curing glue can seep out, filling in gaps and obscure details on your miniature. Use the glue sparingly and if you’ve added too much you can draw up the excess using a paper towel. Simply twist an end to a fine point and dab it into the glue. Through adsorption the towel can quickly draw up the excess if working quickly. Don’t let the paper towel set in the glue for 10 seconds or so, otherwise you’ll end up with a chunk of paper towel on your mini!
Plastic cement is made specifically for polystyrene miniatures or your ‘hard’ plastics. This glue will essentially melt the plastic and once dry, create a bond that mixes the plastic from each part together. For plastic miniatures I prefer using model cement as it makes the bond unbreakable. You can also really go to town kitbashing and altering figures, as the cement will create a rock solid bond with the parts you use. A small tip, if in doubt that plastic cement can be used for the miniatures you are working with, glue two pieces of the plastic sprues together. That way you can determine if the bond that forms is good enough before trying it out on your minis.
When working with plastic cement use gentle pressure and hold parts together for around 15 seconds. Like with superglue, you can get the pieces forming a bond quickly but be sure to let the miniature dry for at least an hour before painting. You also want to use the glue sparingly and dab up any excess that might spill out. I personally like working with plastic cement when I can. Instant curing glue can be tricky to work with and you can easily get fingers stuck to the miniature or glued together. With plastic cement this isn’t an issue.
Another tool for your bench worth having is a pair of tweezers or forceps. Especially with plastic models, you can get some small parts that are difficult to handle with just your fingers. Using tweezers allows for more precision in placing that part just so on a miniature.
Some other tips with assembling miniatures. Take the time to look through the sprue and/or assembly instructions. Many manufacturers will have labels on the sprue indicating with a letter or number the part and which piece they line up with. Once cut from the sprue, take care to line up your pieces with the figure you are working with. It can be too easy to slip into assembly line mode cutting tons of bits from sprues only to end up with a pile of hopelessly mixed up arms and legs.
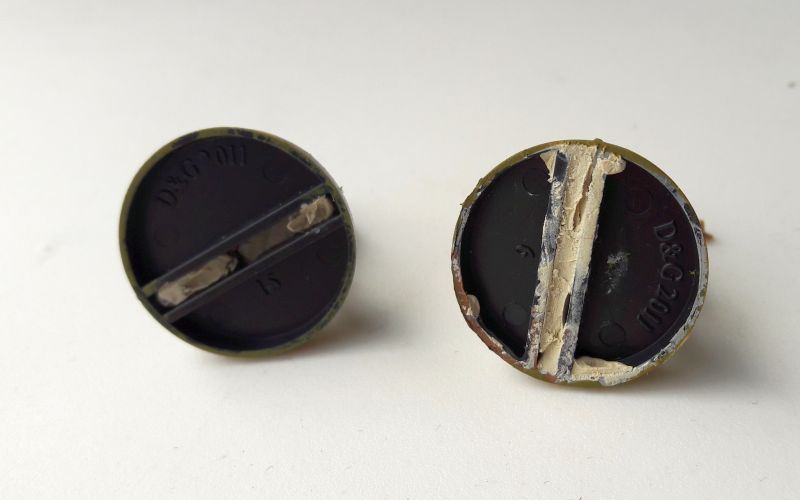
Many miniatures will also come with bases. Most are textured, but you might have some that have a smooth surface. This can be difficult to get a solid bond with the figure. To get around this, I would score the surface of the smooth plastic with sandpaper or a hobby knife. This will create a rough texture allowing more surface area that the glue can seep into, creating a stronger bond. If you look at the bases of the figures below you can see the score marks I put on the bases for my hard plastic miniatures.

Some bases might have slots which need to be filled in. Similarly, you may have joints that don’t quite fit snugly leaving a gap. Even a small thin crack can become an unsightly detail once painted up. Another hobby supply you should invest in is green stuff putty. This is a two part epoxy that comes as a clay material. Through kneading the two colors together in roughly equal ratios, eventually you will get a uniform green color. The putty can easily be worked with and once dried overnight, you get a solid material that will take up paint well. The material can also be sanded if needed.

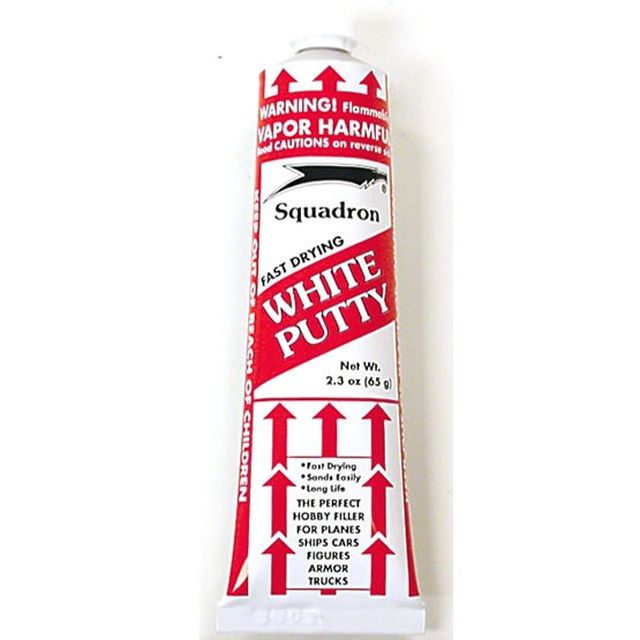
If you have a lot of open gaps like certain bases, you might want to invest in squadron or white putty. This is more a serious scale modelers tool. Like green stuff epoxy putty it can easily fill in gaps. Once dry it can be painted or sanded down. Some types are a little toxic to work with though. However if you’ve got a ton of gaps to fill in (like with these slotted miniature bases pictured below), it’s far easier to use squadron putty than green stuff.