Painting Miniatures: Brushes
Just a short post this week to touch on brushes. You’ve got your mini set on a handling base and eager to get to it. Now you are considering what brushes to have at your bench to start painting. I’m sure you can dig up tons of information on brushes elsewhere. I just want to focus on a few points regarding them.
You only need 3 brushes and I consider a fourth a good buy but not necessary when starting out. You want to invest in 3 round brushes, and possibly a single flat (or a filbert) one. I would buy a 3O (OOO), an O, and a number 2 or 3 round brush. The No. 3 brush is good for adding base coats to sections of a miniature, while the O and 3O are good for finer details. A flat/filbert brush that is about ¼” is a good size brush to also consider picking up. The flat brush is good for painting larger areas and also great for drybrushing (a technique I’ll bring up in a later post).
As for bristle types I am a fan of hair or mixed brushes. I don’t particularly care for synthetic or nylon bristles. I find the nylon brushes are a cheap buy and do keep their shape, but they just don’t hold paint as well as natural bristle brushes. Some folks swear by them however.
As to actually using them with paint, that is a topic I’ll cover more later. Just remember you should be using the tip of the brush to apply the paint. Avoid stroking on paint working from the side of the brush to the point. Let the brush do the work and use the tip instead. I do want to cover some points on cleaning and maintaining your brushes though.
For your fine round brushes, they should come with a protective sleeve that goes over the brush point. Keep this cover. While you have your brushes stored, they should be covered using the sleeve. This will help protect the bristles and avoid them losing shape by accidental handling.
I keep 2 containers of water at my bench. One for diluting paint and is ‘clean’ water while the other I use for cleaning my brush. If working with metallic paints you might want a third dedicated water container. This can avoid getting reflective specks in other colors you prepare. When cleaning your brush, don’t mash it down on the bottom of your water cup or jar. If you have paint that can’t dislodge by shaking the brush in the water, stroke the bristles on the side of the water jar in an upwards direction. This will avoid deforming the bristles and work any paint away from the ferrule (metal part that holds the bristles) towards the tip of the brush. You can also always do a final rinse of your brushes under a running tap.
After you clean your brush and are done with painting, gently reform the point if needed with moist fingers and cover the bristles in its protective sleeve. Then leave the brush on its side for several hours (or overnight), finally moving it to be stored bristle-side up. By allowing the brush to dry on its side, any moisture still on the bristles will stay out of the ferrule. Even if the brush is clean, by drying with the point up, moisture carrying a small amount of paint will fall into the ferrule by gravity. Over time that paint will accumulate and begin to force the bristles apart, deforming the shape of the brush.
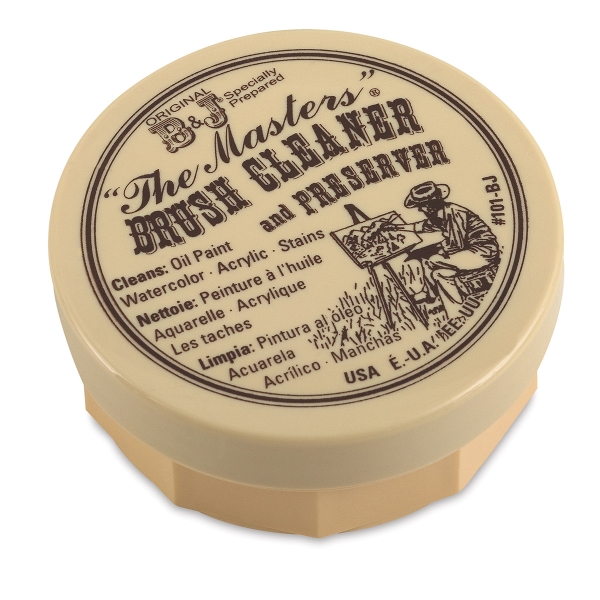
Periodically you may want to clean your brushes with a soap solution. It’s a small investment but I highly recommend picking up some Original B&J “The Masters” Brush Cleaner & Preserver. It’s a soap that you use with water and is an excellent way to clean your brushes.
About once a month you can wash the brush with the soap and a little water, working up a foam. Remove the foam on a clean surface like a paper towel and repeat the process a few times, ending with a final rinse with water. You can even add a small amount of soap to the tip of the brush, gently making a point with your fingers. It’s a great product that does wonders for cleaning your brushes and can add years to their lifetime.
You might still need to give your brushes a more thorough cleaning. One trick is to store the brush in solvent upside down. By poking a hole into cardboard, and carefully working the tip of the brush through the hole, you can have the handle stay stuck in the cardboard relatively securely. Then the brush can be placed in a cup or glass bottle with the bristles being allowed to soak freely in solvent. Set overnight this can help remove excess paint in the ferrule and can possibly help restore brushes that lose their point.

This is usually a last resort method though. If you follow the previous tips, you can stretch out the lifetime of your brushes by years. Just a little bit of preventive cleaning and proper maintaining of your brushes can go a long way keeping them in top shape.
