Painting Miniatures: Drybrush and Highlights
The previous post I talked some on washes and shading. I’d like to move on discussing a tad more about drybrushing and highlights. Drybrushing is a subtle technique. To use it best, you want to be patient and work on multiple layers of lighter and lighter colors. It can be a time consuming process but eventually you’ll get wonderful results adding a tremendous depth to your miniature.
I suggest when adding highlights to work with a strong lamp or paint in copious amounts of natural daylight. You want to use the light and how it catches details on the figure to select areas to highlight. Those parts that capture the natural shadows and deep recesses you want to skip, and instead identify the edges of the mini that hold the light. When you touch those areas with a lighter shade of color over your basecoat, they will dramatically emphasize these raised parts, adding more contrast and give the miniature a more life-like look.
Even if using a drybrush as a base coat of sorts, you can use different shades to add more highlights. For chain armor, a fair technique would be to drybrush a metallic shade over base coat of black. But by using a brighter silver color on areas like the shoulders of a miniature, or edges of a sword, it’s possible to squeeze out more detail.
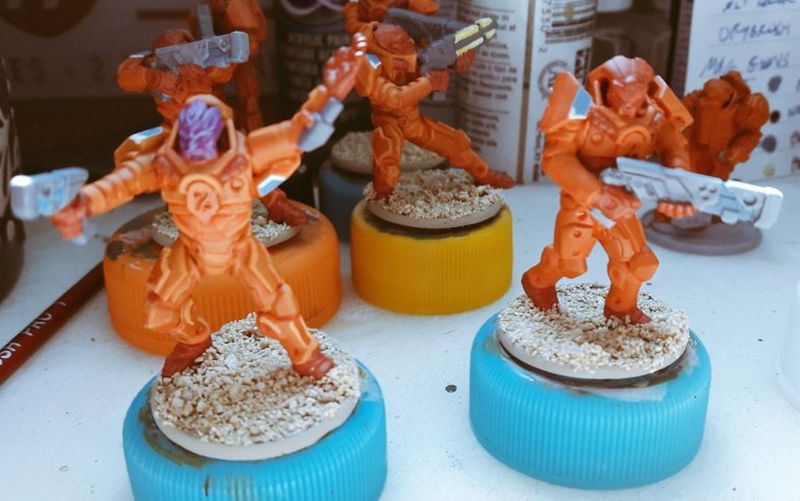
A slightly different take on drybrushing is something I call high contrast highlights. Here instead of dusting edges with paint, you add small lines of lighter color on edges of the figure. You are going for stark contrasts instead of a gradual layering. Unlike drybrushing, you want to do this before applying a wash. Shading after helps blend the colors some. It is a great tool for speed painting instead of traditional drybrushing and blending, but has some limits. In the pic below you can see the figure on the left has high contrast highlights, while the figure on the right doesn’t. Looking at parts like the legs you can see the armor standing out more compared to the figure on the right, where the color of the armor is more muted.
Another type of highlight which can add a fun look to your mini is Object Source Lighting (OSL). This is adding highlights of stark contrast colors to mimic light emitting from a source on the mini. Blending is pretty much a must here. Pick a part on the figure that you picture emitting light, then add the lightest color to that area. Raised edges and other areas on the figure that you think would catch that light source will have darker shades of that same color. Avoiding deep recesses, you want to pick out the edges that would collect the imagined light and use a darker tint compared to the one used for your ‘source’ of light. In the undertaker figure below, you can see how this high contrast highlight is used to create an OSL-like effect from the lantern.

OSL is something you want to use sparingly, but for some details like glow effects on weapons or ship engines. It’s a fantastic little effect that can add so much to a mini. Next post I’ll cover the final step to your paint job, miniature bases!
