We talked some about using paints and tools to have at your bench to help with painting, but now I’d like to go over specific painting techniques. I call these the big 3, three main techniques that can be used to create nice looking figures. If you can get some technical proficiency using these painting skills, your miniatures will look great on the tabletop. These panting skills are (1) the base coat, (2) washes, and (3) drybrushing.
Briefly, the base coat is just what you’d think, adding a foundation color to parts of your miniature. Drybrushing is a technique to bring out the highlights of the model. And finally washes help bring out details of the figure, adding some depth to areas. Combined, these 3 techniques can make a ho hum paint job with just base colors get some real zing.
You will first be applying a base coat to the miniature (or sections of it). A good process to follow is consider working details from the inside out on the model. That is, start with the ‘naked skin’ and work out to layers of clothing/armor, moving on to details like webbing, belts, boots, and finally other accessories like weapons, jewelry, or other small details.
This can vary from miniature to miniature but it’s not a bad process to start with. The key point is to focus on applying a single base color to a particular part of the figure before moving onto other sections. You don’t want to paint the face, then the leather vest, then go back to painting the skin on the arms of a figure. You want to get the face and all the naked skin first, then move onto other areas of the mini. Work on having a clean transition from one part of the mini to the next. If you make a mistake and paint one color over onto another part, you can go back later and give a touch up if needed.
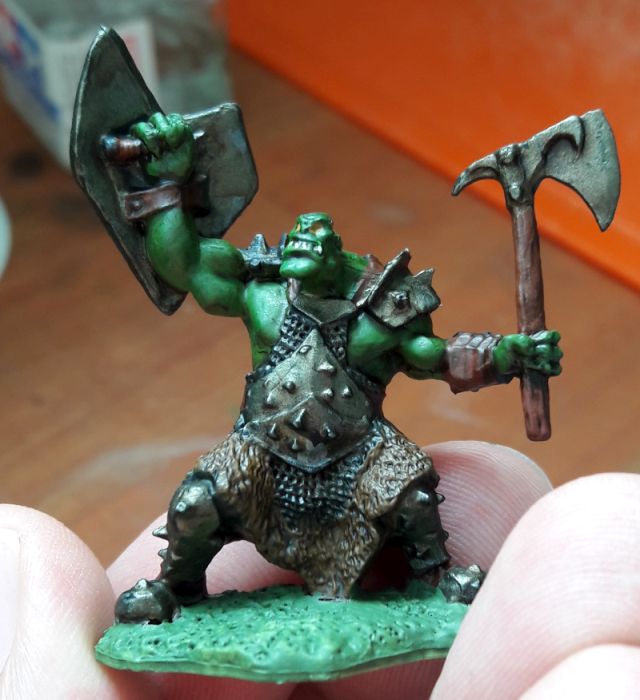
When adding a base coat work with thinned paints and apply multiple coats. If the paint is too thick, you can leave brush strokes (uneven coats of paint with lines from the bristles). It is also quite possible to have paint obscure details if applied too heavy, where it pools up in areas. So thin out your paints and go for 2-3 coats if needed. If your paints have about the flow and viscosity of milk, you should be fine and maybe (depending on the paint) even be able to get away with a single coat. You can see with the Reaper Bones miniature below I’ve applied a green base coat to the cloak.

As I mentioned earlier, have two containers of water. One for cleaning, the other for washing your brush. Periodically be sure to clean most of the paint from the brush. After about 10 minutes or so while painting, you might actually have paint on the bristles dry. So a brisk cleaning in water once in a while will avoid this. Also if working with metallic paints you want one small dedicated wash jar. This will reduce the chance of metallic flakes getting into your other paints.
For the other two techniques I will go into them in more detail in future posts. A wash is a thinned coat of paint or ink. This might alter the base coat hue some, but it is really to add shade and darken areas that have details. This can help bring out parts of a figure’s face or accentuate fine lines on the mini. Washes pool and create shadows of deeper color. If you are making your own wash from a paint color, you want to add more water to really thin out the paint.
Commonly you want to use a darker shade of your base color. It’s also possible to go with a neutral color depending on the effect you want to go for. In the photo below I’ve really added water to thin out a darker green color paint. It has altered the base coat some, but you will notice that it really pools in the recesses of the cloak and brings out the cloak embroidered edge.

You can go overboard however and have some areas that might get too much of your wash as gravity sets in. After applying a wash, use the same brush and tap it on a paper towel, allowing the liquid to be drawn away from the bristles. Then use the brush in areas that have pooled up too much wash, and through capillary action the excess will be sucked into the paintbrush. Simply dab the bristles on a clean section of paper towel and repeat. You will leave plenty of wash behind and still be able to get that shading effect you are looking for.
Drybrushing is the opposite of washes. Where applying a wash brings out the shadows and dark lines of the miniature, drybrushing highlights the raised parts of the figure. This is a little more technique driven. You want to use an older brush, or possibly a flat brush, and get paint on the tip of the bristles. Then gently stroke the brush on a paper towel or other clean surface (like the back of your hand) to remove most of the paint. Eventually you will have a trace amount which you can lightly bring across the edges of a figure, dusting it with color.
Use a brighter color compared to your base coat. Work on areas that you expect to catch the light. Like for a cloak, the folds would be dark, while areas that would billow would be much lighter. Be patient. Unlike washes which can give an immediate result, drybrushing is slow to develop. Go lightly and build up areas slowly. Note that this is a technique that works best on edges and parts of a miniature that have intricate details.
The cloak I am working with can be difficult as larger areas can be hard to apply effective highlights, unlike the sharp edges of the cloak and crisp folds. It’s a subtle technique (and likely may not photograph well with a crappy phone camera) but you can just make out some of the upper folds having a lighter tint. Obviously the lighter shade of color compared to the base coat, the more dramatic the effect.

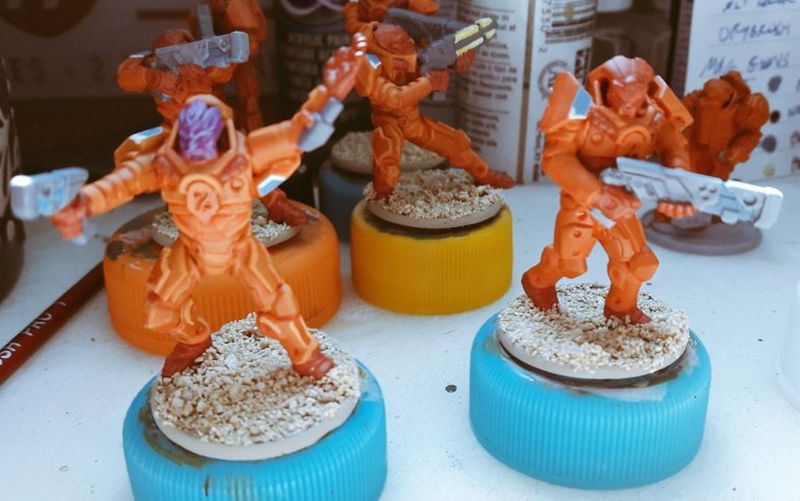
I would be remiss to not mention blending. I consider this a more advanced technique. With blending you are working with a dark shade and adding lighter colors to gradually blend the hue into a brighter color. The idea is to give a uniform base color, and as you move up towards areas that are raised, the color increases in brightness. This is especially good on large, smooth surfaces or rounded edges. In particular 40K space marines have shoulder pads, legs, and arms that don’t have a lot of detail and are curved which don’t highlight well. So blending is a way to give the models some life and make them pop.
Don’t worry about adding blending to your painting repertoire initially (or at all). A good base coat, wash, and drybrush will give your figures a lot of pizzazz and are powerful techniques. Combined they add depth to your miniature. The can be tweaked and altered to really bring out details on a figure. Using these techniques can also allow you to do some interesting things for your model.
I like to highlight a quick tutorial from Sonic Sledgehammer. This chap gives a great example of all 3 techniques being used to add a pleasant weapon glow effect. He also demonstrates how washes can alter the look of a base coat if used appropriately. Watching this brief clip you can see how all three can improve your results, just by applying these basic painting skills.
[EDIT: So different manufacturers have introduced Contrast Paints which look like an interesting product. They might replace the need for washes entirely. For new painters or people looking to get a slew of minis painted to tabletop standard, these paints might be worth a look.]