Marvel Crisis Protocol – Miniature Storage and Carrying Case
Been loving Marvel Crisis Protocol but one thing that stood out for me is how some of the figures are just downright fragile. I typically keep my figures in cases of foam and/or bubble wrap, but minis like Daredevil have parts that would snap off easily. I needed to find a different way to store and transport my painted models. I ended up making my own, using an old toolbox case. It was deep enough to hold several models and possibly hold another tier if I could work out a way to mount something over the box chamber.
Some of my minis were a little wobbly, so I used metal washers to add weight to the base. They were also ferric enough to allow a magnet to stick to them. Using thin magnet sheets, I could easily cut out sections that would fit snugly under a miniature. An important bit, make sure to buy magnetic sheets that are thick (2 mm or so). You can get thinner magnetic sheets but they won’t be strong enough to stick to your washers.
I used a paint pen to outline sections of the case bottom for minis. This would help me get a better layout of the available space I’d have for miniatures.
The toolbox I had was pretty deep. Enough so that I could add another layer for storing minis like I typically do with foam sheets. The trick was to figure out how to add a second section. Using a block of old styrofoam, I cut roughly 3cm thick sections off and mounted them in the corners with a hot glue gun. I figured it would be a better design to allow for the second tier to be pulled off in sections. So for the middle of the case I used longer portions of styrofoam that would act as supports. I mounted the magnetic sheets with superglue, not relying on just their adhesive backing.
Using thick foam board I could easily cut out snug fitting sections that would rest on the styrofoam supports. I also used a washer to outline parts I would cut out to help in their removal. A tip, make sure to add some feature to help keep the orientation of the foam board sections. Notice I cut small notches in either a side end (left) or along a long edge (top right) to help me easily determine which was left or right. This was especially important as the toolbox interior wasn’t straight edges and I had to cut out odd sections of my foam board to make them fit. If I got pieces flipped around, I’d have to constantly re-seat them to line up properly.
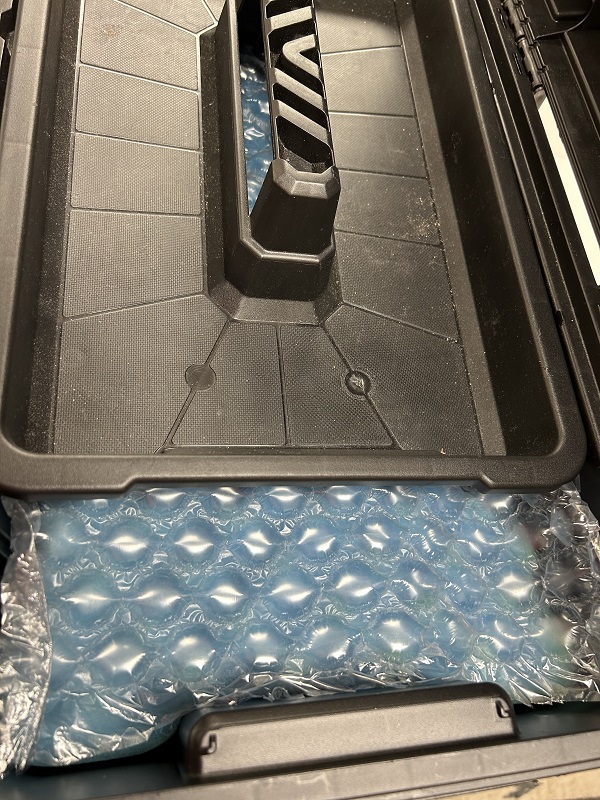
The sections were well deep enough to let me lay down a bed of foam. I had some nice thick sheets of bubble wrap that would provide adequate protection once the lid was closed.
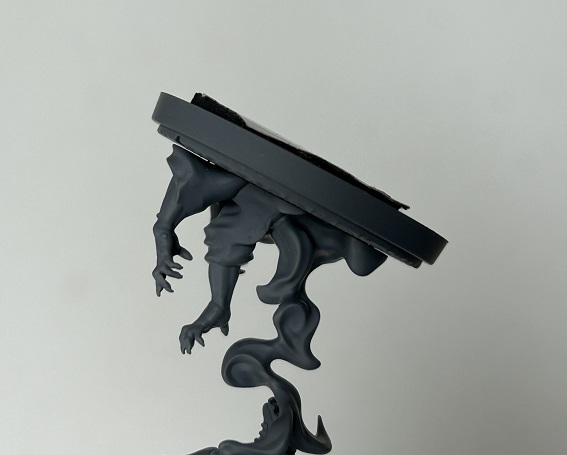
As a bonus, my toolbox had a tray that fit just under the lid. This worked out great for me as a way to help keep the foam and bubble wrap sections snug. Plus it could hold range and movement tools in transit. As another plus, I could use it as a model tray to move my roster minis around during a tourney, without having to pack everything up in the case again. Mind you, the magnets won’t keep your figures from shifting around if you shake the box, but as you can see the magnets are strong enough to hold the minis in place at a steep angle (like on its side as pictured).


